How to Create Photorealistic Renderings: 4 Easy 3D Tools
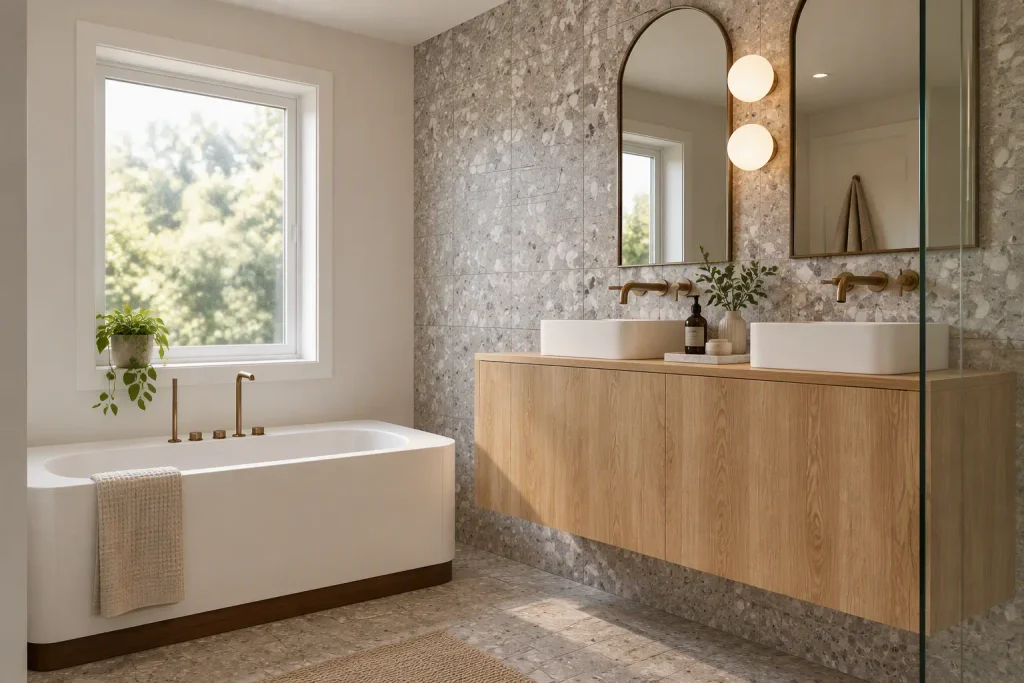
Selling clients on your design often comes down to how you present the visuals. You can have killer design sense, but if you can’t show your client photorealistic renderings of how everything will come together, they may not be ready to pull the trigger. And that’s one of the most challenging places a designer can be: a client who isn’t sold on the vision, while you try to help them see what’s in your designer brain.
That’s why being an interior designer today means getting comfortable with software tools that let you create impressive 3D visuals and give clients a real look at the finished space.
If you didn’t go to design school, or you’re not the most tech-savvy, you might not have the tools or know-how to create photorealistic visuals of your designs yet. That’s exactly why I put together this guide. I’ll walk you through the process step by step, then break down the 3D floor planners I recommend for creating renderings that sell your clients on the vision. (If you’re brand new to design software, start with my roundup of the best beginner-friendly interior design software.)

How to Create Photorealistic Renderings in 5 Steps
No matter which software you choose, the process looks pretty much the same:
- Measure the space. Accurate renderings start with accurate measurements, so get the room dimensions, ceiling height, and the location of windows and doors (or work from an existing floor plan).
- Build the floor plan to scale. Draw the walls, openings and built-ins in your 3D floor planner so everything in the render sits where it will in real life.
- Add finishes and furniture. Apply the actual materials, fixtures and furniture you’ve sourced. The closer they are to the real selections, the more your client will trust the visual.
- Set up the angle. Set your camera at eye level so the view feels like standing in the room.
- Render and refine. Run the AI rendering tool, review the result, tweak anything that looks off, and export a high-resolution image for your client presentation.
Choose the Right 3D Floor Planner for Photorealistic Renderings
To create a 3D visual that’s accurate and to scale, you’ll want to build out your design in a 3D floor planner.
What About SketchUp?
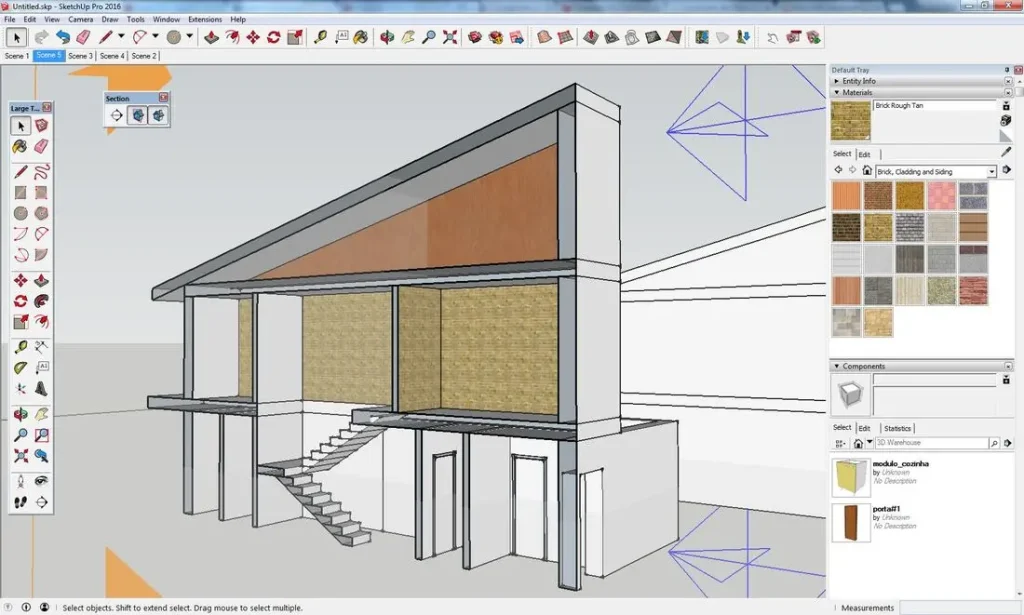
The industry standard is SketchUp. It gives you a lot of flexibility in what you can draw, and it has rendering tools to help make your visuals photorealistic.
However, SketchUp comes with a big learning curve, and it’s not the most affordable option.
It’s worth learning if you need to draw highly custom components, but it may be more than your project calls for. So here’s a breakdown of other 3D floor planners you can build your design in, all with built-in AI rendering.
1. Planner 5D

Planner 5D is one of the easiest 3D floor planning tools out there, and it’s one I’ve been playing around with for some time. It’s available as an app and as a desktop web application, and it lets you build in 2D and 3D at the same time, with custom materials, furniture and more, so you can lay out kitchens, bedrooms and even whole homes.
I’d say it’s much easier to pick up than SketchUp, and I like that it has a built-in AI tool that turns your renders into photorealistic visuals that are pretty impressive.
It’s one of the AI tools I recommend to homeowners, and it’s also a great floor planning app for creating 3D visuals of your designs.
User experience: 7.5/10
2. Coohom
Coohom is probably the easiest 3D floor planner on the market. It lets you create fully customizable 3D designs, complete with kitchen fixtures, plumbing, custom materials and more. It also has a photo-to-3D tool, so you can bring in the items you’ve sourced for the project and place them right into the floor plan.
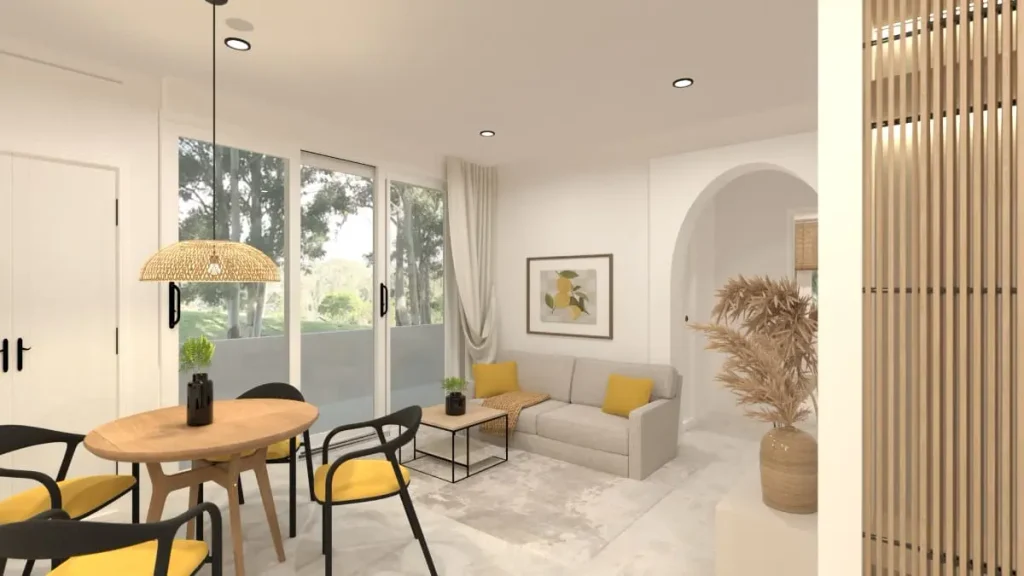
The best part is the integrated AI tool that makes your 3D renderings photorealistic.
Honestly, Coohom is one of the most impressive 3D floor planners out there. It’s one of the most user-friendly, and the AI renderings are super realistic and seriously impressive.
User experience: 9/10
3. DesignFiles
DesignFiles is an all-in-one tool for interior designers. On top of its 3D floor planner, it includes project management tools, which makes it a great fit if you’re looking to consolidate your tech stack. (I cover that side of it in the best interior design software, from drafting to invoicing.)
What sets its 3D floor planner apart is the preloaded 3D furniture from brands like Wayfair, Crate & Barrel, West Elm and more.
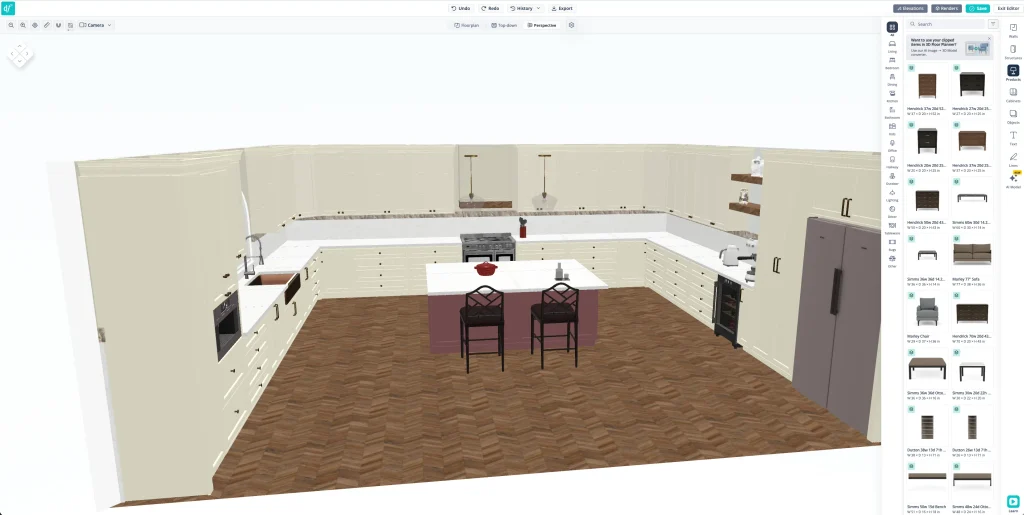
You can also upload photos and turn them into 3D models within your space, and upload your own materials.
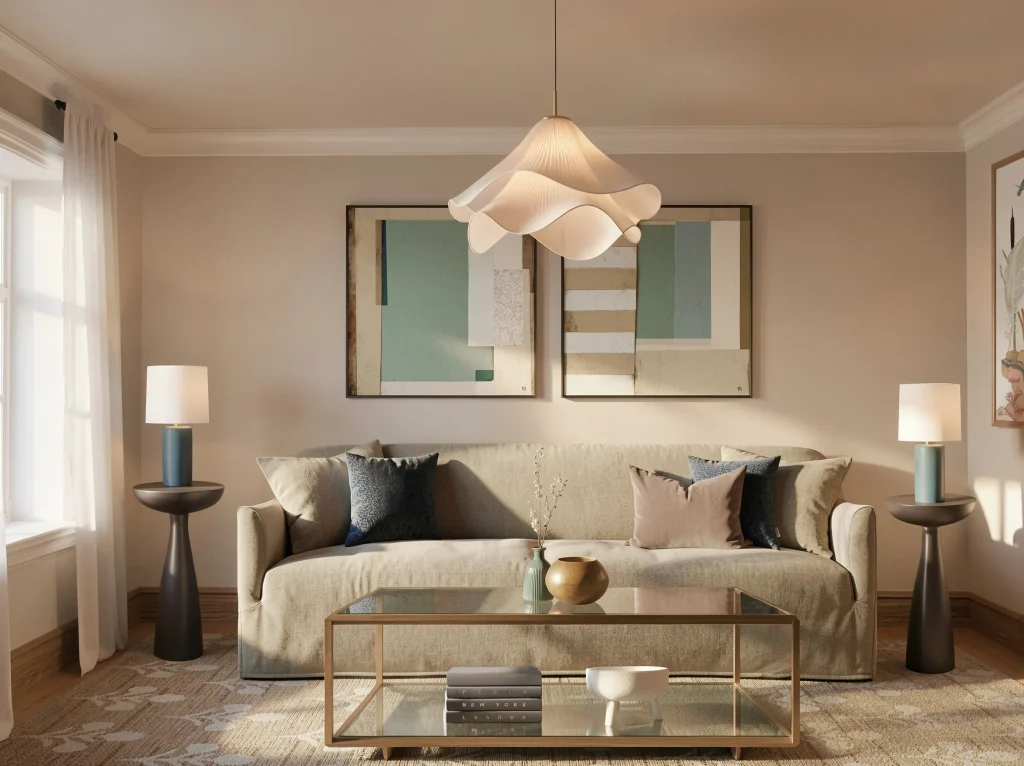
Another thing I love is its built-in AI enhancement tool, which takes your raw renders and makes them photorealistic quickly.
It also has a pretty robust moodboard tool, a bit like a hybrid of Canva and Photoshop, that lets you manipulate images to get a 3D render effect without the hassle of building a full 3D room. So it’s a great option if you’re looking for an alternative to building out a 3D floor plan.
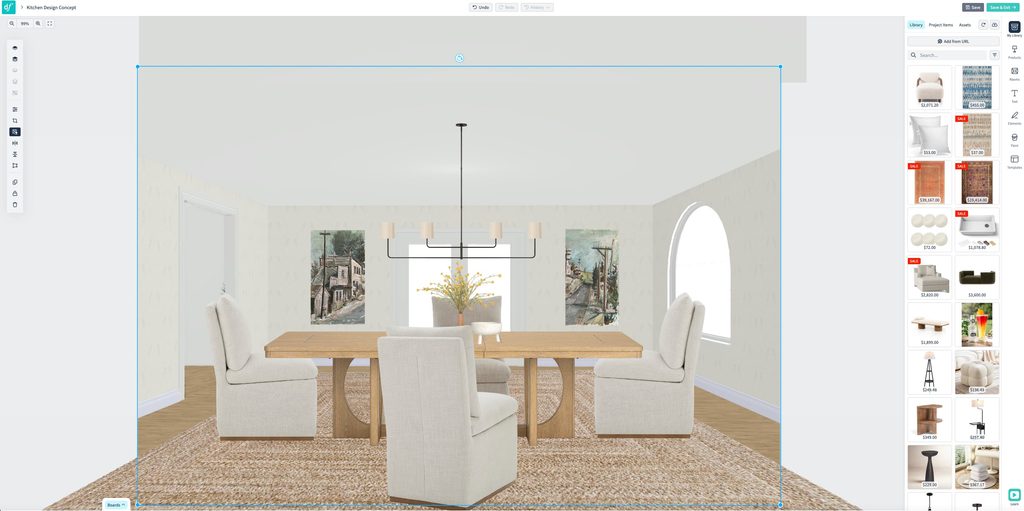
User experience: 8/10
4. Foyr Neo
Another 3D floor planner I love is Foyr Neo. It’s geared toward professionals in the design industry and helps you streamline your 3D modelling process. For a little extra, you can have a member of the Foyr team trace out your floor plan for you, which is a big help when you’re busy and want to offload some work.
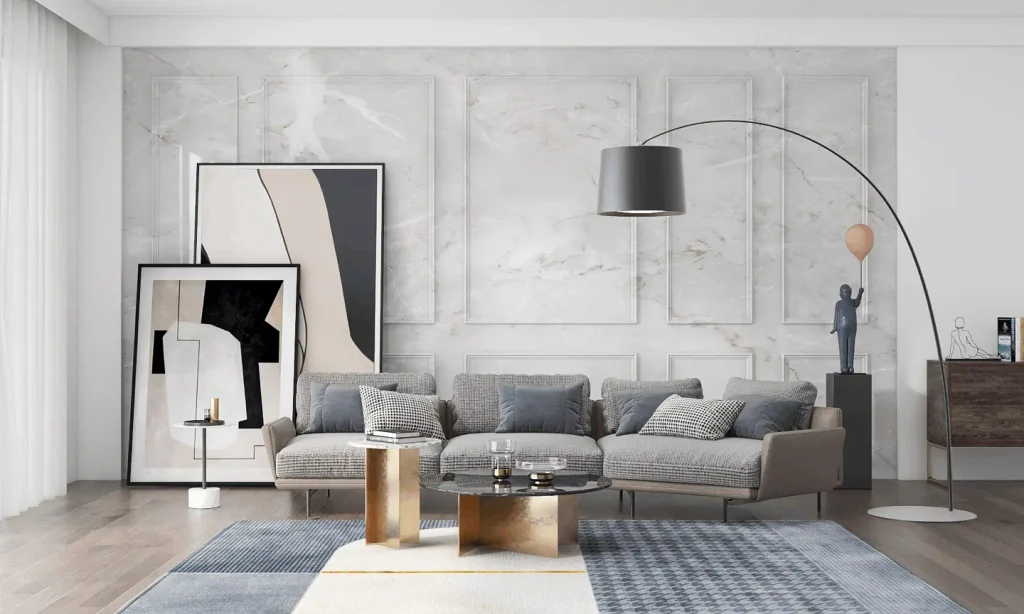
It can also turn photos of furniture pieces and fixtures into 3D models, which keeps your renders accurate.
Read more on Foyr Neo here.
User experience: 9/10
Which Rendering Software Should You Choose?
If you need to draw highly custom pieces and don’t mind a learning curve, SketchUp is still the industry standard. But if you want photorealistic renderings without the steep learning curve, any of these tools will get you there:
- Coohom (9/10): the easiest to use, with impressively realistic AI renderings
- Foyr Neo (9/10): built for professionals, with the option to have the Foyr team trace your floor plan
- Planner 5D (7.5/10): simple to pick up, and great for homeowners too
- DesignFiles: an all-in-one platform with 3D planning, project management and moodboards
Frequently Asked Questions
What software do interior designers use for photorealistic renderings?
SketchUp is the industry standard, but it has a steep learning curve. Easier options with built-in AI rendering include Coohom, Foyr Neo, Planner 5D and DesignFiles.
Can I create photorealistic renderings without knowing SketchUp?
Yes. Tools like Coohom, Foyr Neo, Planner 5D and DesignFiles let you build a 3D floor plan with drag-and-drop furniture and materials, then use AI to turn it into a photorealistic rendering.
How do I make my 3D renderings look more realistic?
Start with accurate measurements, use the real materials and furniture you’ve sourced, add natural light and lamps, and set your camera at eye level. Then run the render through an AI enhancement tool.
Whichever tool you choose, the goal is the same: give your clients a clear picture of the finished space so they can say yes to the vision with confidence.
Click Here To Shop My Favourite Home Goods
Let’s design your space together, virtually.